
I am not going to talk about money, or our financial
situation, but let’s admit that moving to Australia, having a baby 9 months
later, and building a new house, was expensive.
Now, I don’t mind not having all the money in the world to
buy me all the expensive things I seem to fall in love with when we go through furniture
shops. I like using what we have and add to our home when we find something
special, or cheap, or even free…. (We will get to the free stuff later
sometime. I have plans, many plans. Always plans.)
Anyway.
 I saw this buffet with hutch on Gumtree, for 70 Australian
dollars I think it was. Not a fortune, and it is still sturdy and a much needed
item to fill up our large house that had not much in it.I can’t find a good before picture of it, and it never
dawned on me to do an actual before picture before I started painting it. Whops.
But there we have it, full of my thrifted frames on top.
I saw this buffet with hutch on Gumtree, for 70 Australian
dollars I think it was. Not a fortune, and it is still sturdy and a much needed
item to fill up our large house that had not much in it.I can’t find a good before picture of it, and it never
dawned on me to do an actual before picture before I started painting it. Whops.
But there we have it, full of my thrifted frames on top.


My son was happy to pitch in and help me with some sanding
and later painting. It was nice not to have to do all this on my own.


 |
| Sand with the grain! whoops. |


I don’t believe in total serenity when I get to work, some
welcome entertainment on laptop is very welcome while painting. Here I am
watching my favourite DungeonMaster Matthew Mercer and his Crew in Critical Role


Here the hutch is finished painted, I think I used three
layers in the end. I love how that colour just brings out the wood. (Same paint
I used for my Tallboy chest of drawers.)


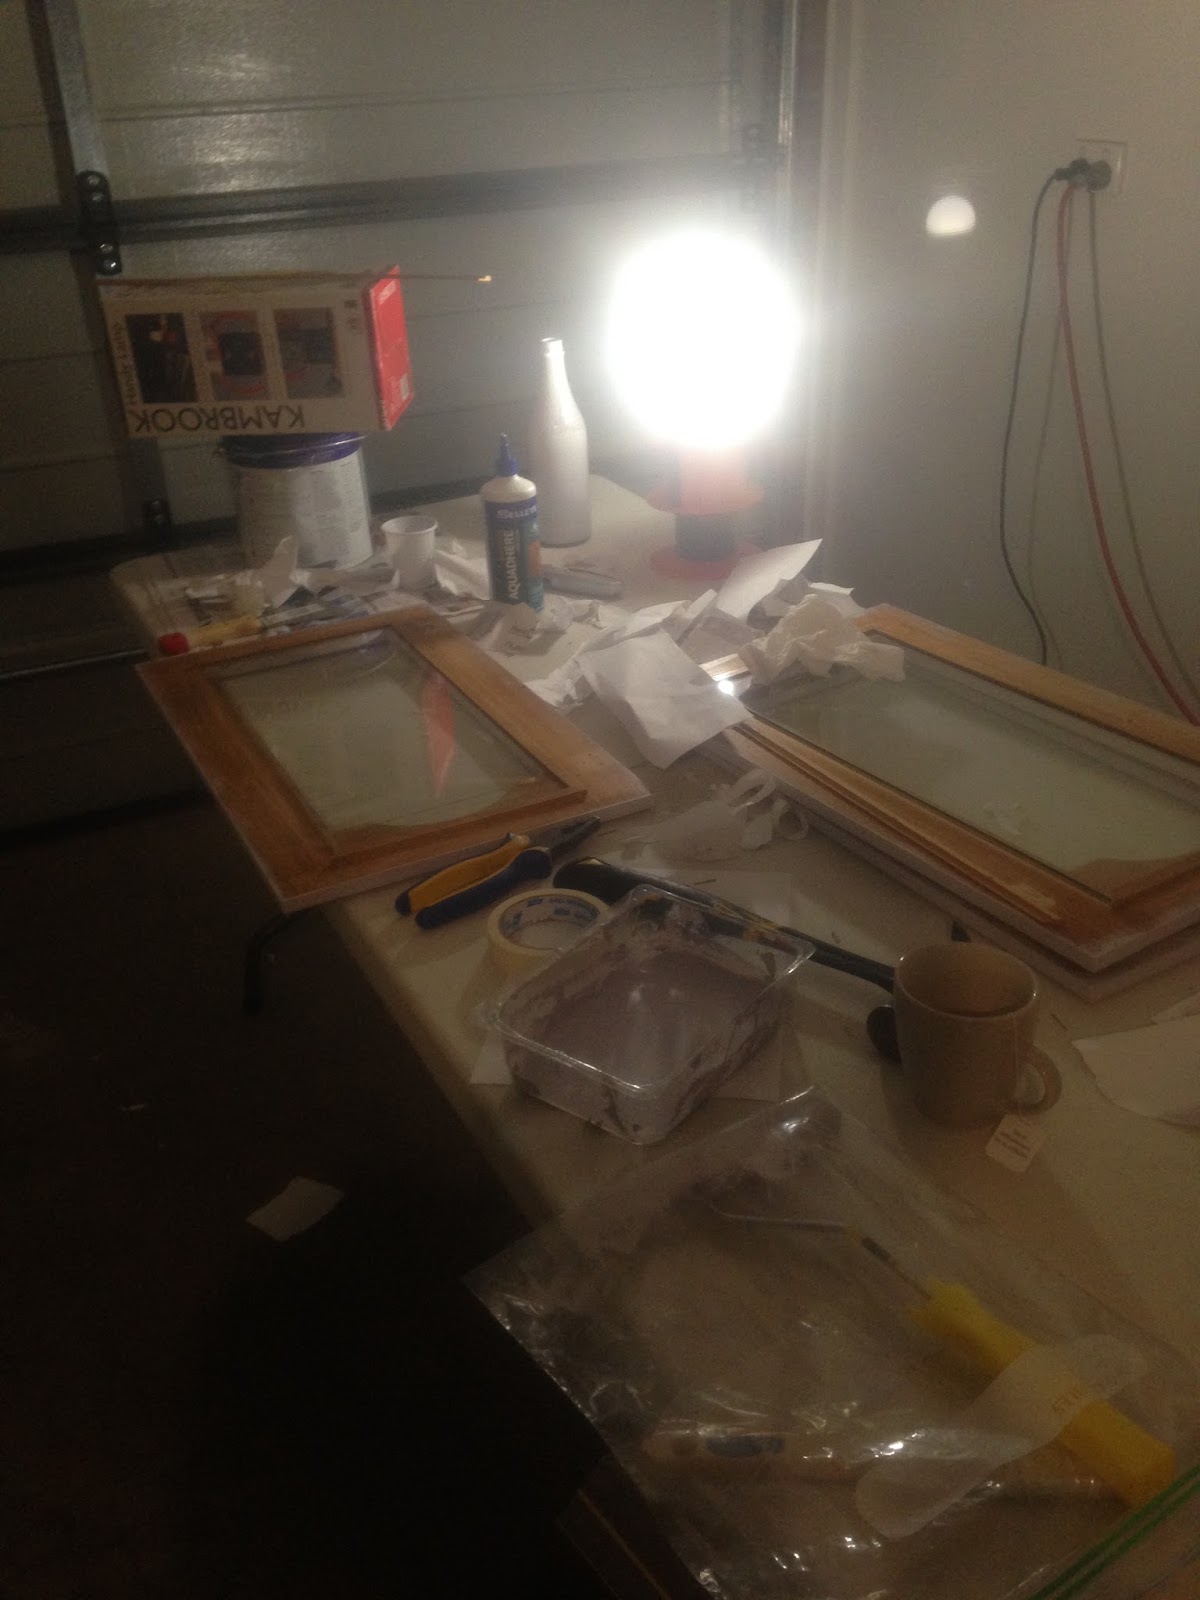
And now to my brilliant, or not so brilliant way of painting the doors. Stuffing papers in under the edge would surely make painting this door easy! Pfft. First of all, it took probably more time than masking to stuff the papers into the cracks, secondly, I didn’t remove them right after painting because I had to make more than one coat of paint. This made the paper a close to permanently fixed to the door…
The only way to save this was to take the window out, and
scrape it free of paint and paper. Nice! I love this kind of work! (Not really,
but I pretend.) I carefully pried the little wooden frame away from the door,
and it was so thin it snapped on one of the doors. It was the top part so it
was easily fixed by gluing it back into one piece and then nailing it back on
once dry.
Lesson here is to use masking tape.


 Now that the windowed doors were finished we started working
on the bottom ones. These were doors my son demanded to finish himself, because
he wanted to paint and I didn’t let him paint the first three because of the windows.
He started high in spirits but then realized how much job this really was, and
got a bit sloppy. We agreed that I would take over the painting, and after
sanding/scraping off drips I continued. I must add that his first door were done
just as I had asked, but then, you know, he tried to rush it. (Don’t we all
sometimes?)
Now that the windowed doors were finished we started working
on the bottom ones. These were doors my son demanded to finish himself, because
he wanted to paint and I didn’t let him paint the first three because of the windows.
He started high in spirits but then realized how much job this really was, and
got a bit sloppy. We agreed that I would take over the painting, and after
sanding/scraping off drips I continued. I must add that his first door were done
just as I had asked, but then, you know, he tried to rush it. (Don’t we all
sometimes?)
We put the dried parts together and admired our work. I know
I am not the best of interior decorators, but I suppose I have my style. I call
it “Cassual and Lived in”- Style. Note the Koala bears on top that I knitted
before moving down under. You can’t tell from that distance that they are, in
fact, Koala bear firefighters…. (What?)


And here it is in all its glory!

Perhaps no masterpiece, though my interior decorating and
poor picture-taking-skills are not helping it one bit to show of its beauty. By
the way, it is hard to take picture of something and not show up as a ghost in
the reflection of the windows!
If you want to have a look at my first painted furniture go here.
Thank you for the visit and be happy crafting!